

Whether you are placing a fundraising order or ordering your art for fun, uploading your art and photo images is easy! Just follow the steps below to ensure your reproduction looks great!
Step 1: Select Your Artwork
You can upload multiple pieces of art and photo images. Pick the art your child created at school, a new drawing, a family art project, and/or your favorite photo. Please check out our Art Guidelines to ensure the best reproduction of your art.
Looking for ideas about what to draw? Check out SilverGraphics Art Projects for Kids!
What size art will look best on SilverGraphics products?
- Rectangular art (horizontal or vertical) proportioned to 9” x 12” (e.g., 8”x10”, 8 ½”x11”, 9”x12”, 11”x14”, etc.)
- Square art in any size (e.g., 6”x6”, 8”x8”, 10”x10”, etc.)
Art proportioned outside of these guidelines may be cropped or stretched.
Step 2: Scan/Photograph your Art
The next step is to get your artwork into digital format, ready to upload.
- up to 5MB
- file type: JPEG, PNG, GIF, WEBP, BMP, and SVG
- files should be full-size, not compressed or zipped
Note: We do not accept PDFs. If you need to convert a pdf file to a jpeg, you can read how to do that here.
How to Scan Your Artwork
If possible, scan your art for high-quality images. Use your home scanner, check with your local office supply store about scanning services, or use a scanning app on your mobile device:
- iPhone users, click here for Notes directions
- Android users, click here for Google Drive directions
- For both iPhones and Android, click here for PhotoScan directions
How to Photograph Your Artwork
The quality of your photo will affect how it looks on your keepsakes! Even if the image looks great in your camera’s viewfinder, it may appear blurry or off-color when it is enlarged. Lighting conditions, camera angle, and steadiness are all important. Be sure to take your photo at the highest/largest possible resolution your camera will allow, following the guidelines below.
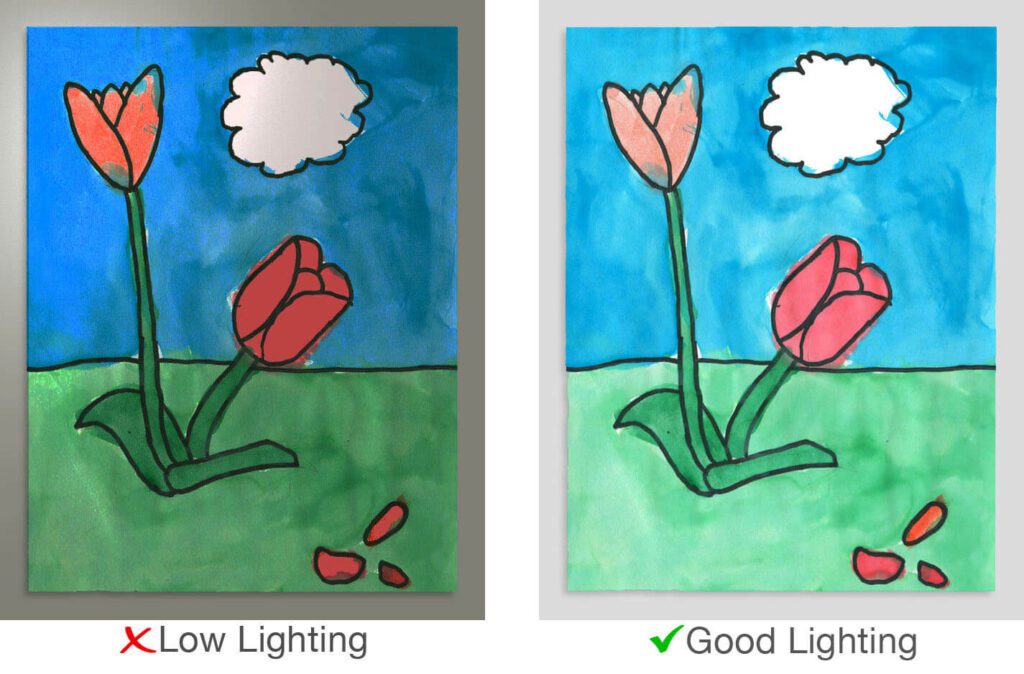
Lighting
Take the photo in a well-lit area. As you look at the artwork, notice if the lighting is consistent and whether you see any glare or shadow. Natural lighting is best. Otherwise, ensure that lighting is well balanced. Do not use a flash for indoor photography as this often results in glare.
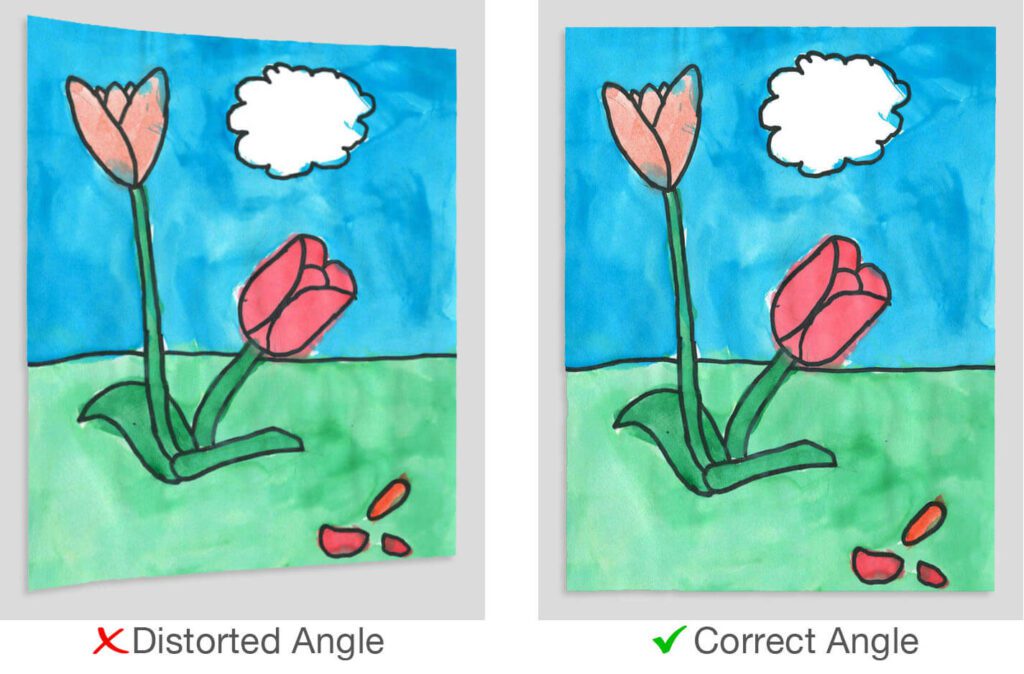
Framing & Positioning
Lay artwork on a neutral, flat space (table or floor) and square to the camera to avoid distortion. Fill the view finder with the artwork while taking care not to cut anything off.
Step 3: Upload Your Art (and Crop If Necessary)
Once you’ve taken a great photo, upload it to SilverGraphics website. You will be able to use our online editing tool to enhance your art image so it looks just right! Crop your art so only the art is showing and none of the background from the photo is left.
- Art will automatically upload in landscape position.
- Use the “Crop shape” tool to select your desired orientation before completing your upload.

Step 4: Order Your Keepsakes!
If your uploaded art does not appear correctly on the products, please Click Here for support
